
1 or 2 circuits
One active operating mode. Each lighting circuit ≤200 W, with two circuits ≤400 W total.
LANBON L9 · 2-IN-1 LCD SMART SWITCH
LANBON versionA US-only white wall panel with LCD touch control, personalised buttons and proximity features. Choose one or two lighting circuits, with the app for your selected networking version.
US format only · White · Neutral required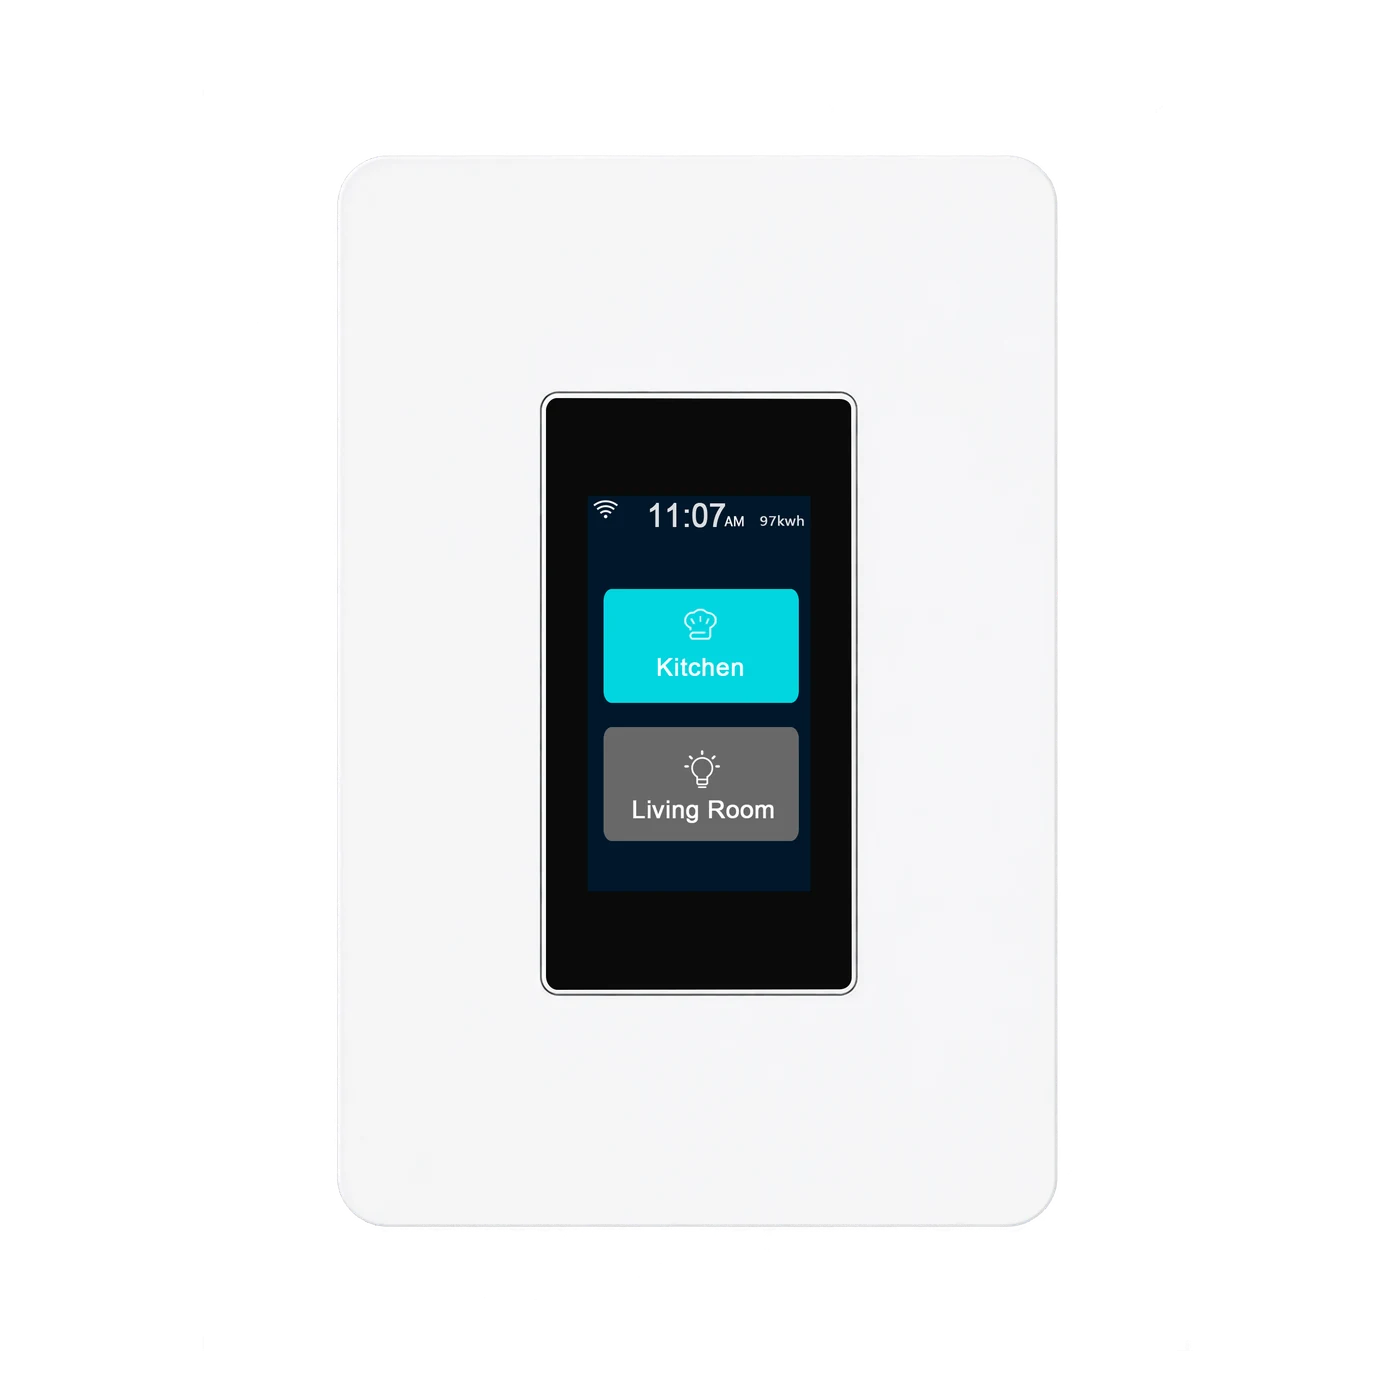
One active operating mode. Each lighting circuit ≤200 W, with two circuits ≤400 W total.
Wake the screen, control lighting on approach and set a delayed switch-off. Configure the desired behaviour in the menu.
Edit lighting buttons and choose among six supplied display themes.
BEFORE INSTALLATION
A qualified electrician must verify the actual unit, box and current wiring instructions with power isolated.
Live and neutral are required; not for no-neutral circuits.
On/off only: ≤200 W per circuit; one circuit ≤200 W, two circuits ≤400 W total. Never parallel outputs.
84 × 128 mm panel. Confirm minimum box depth and fixing compatibility before ordering; do not assume another model's box requirements.
Factory lead wires; use approved connectors suited to the actual conductors. Retain grounding and required circuit protection.
LCD TOUCH CONTROL
Choose the mode that matches the installed lighting circuit. Both modes are available in all three networking versions. This is relay on/off control, not dimming or curtain control.
One lighting circuit ≤200 W. The display represents the on/off state.
Device-interface examples. Changing operating mode resets the device and clears settings; confirm wiring and reconfiguration requirements first.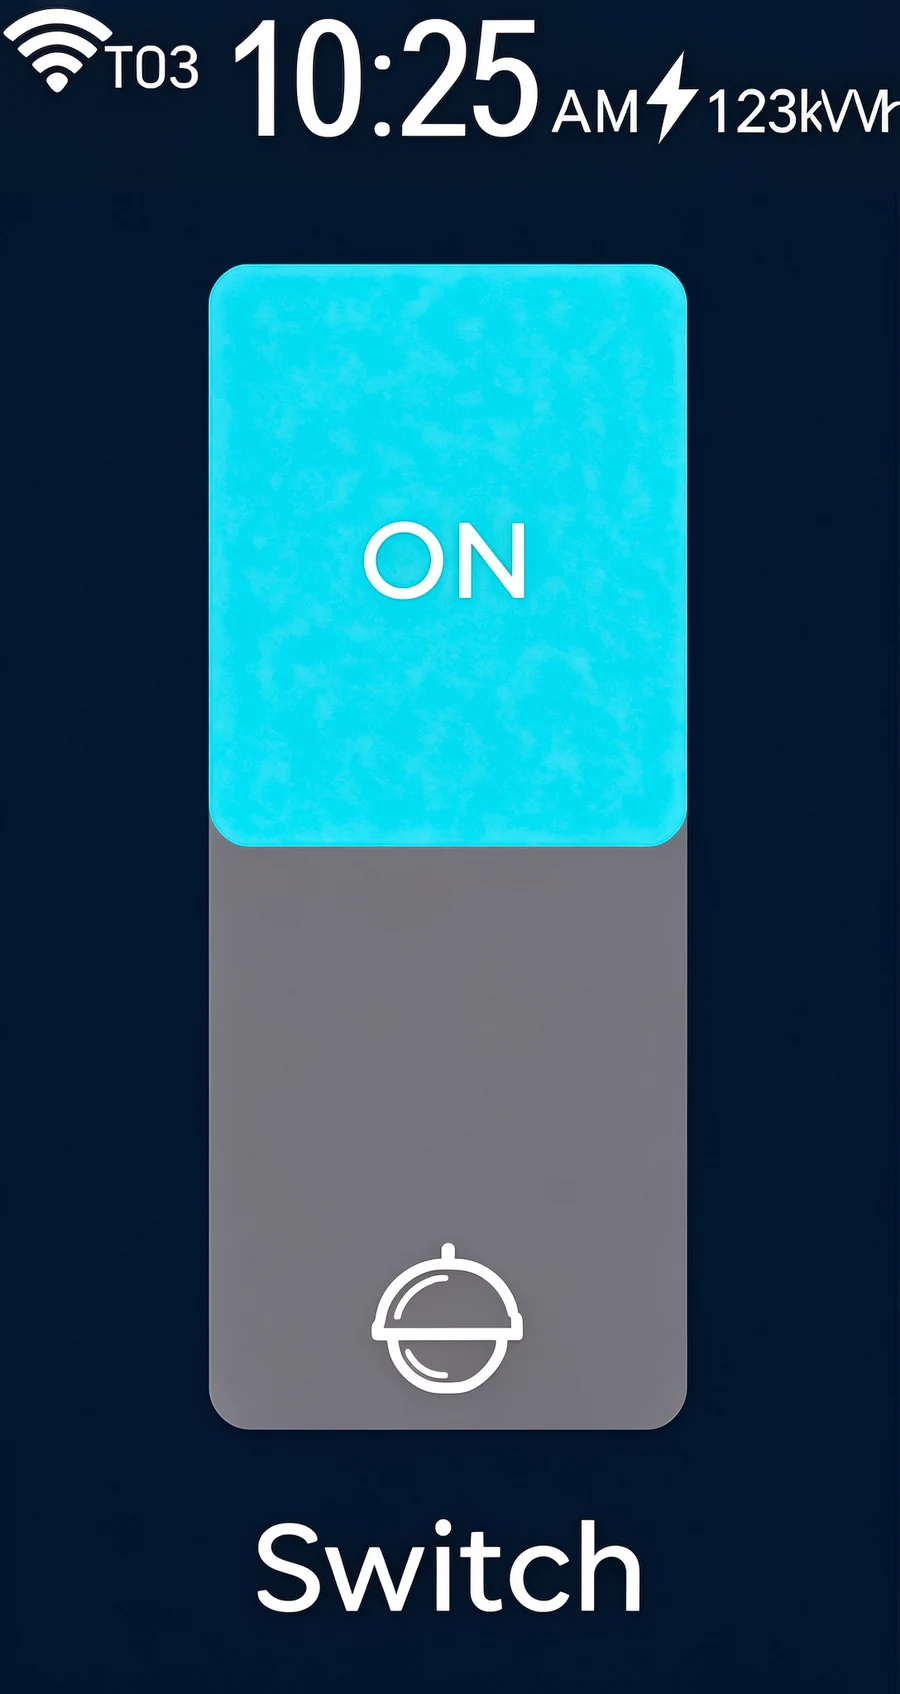
PERSONALISE
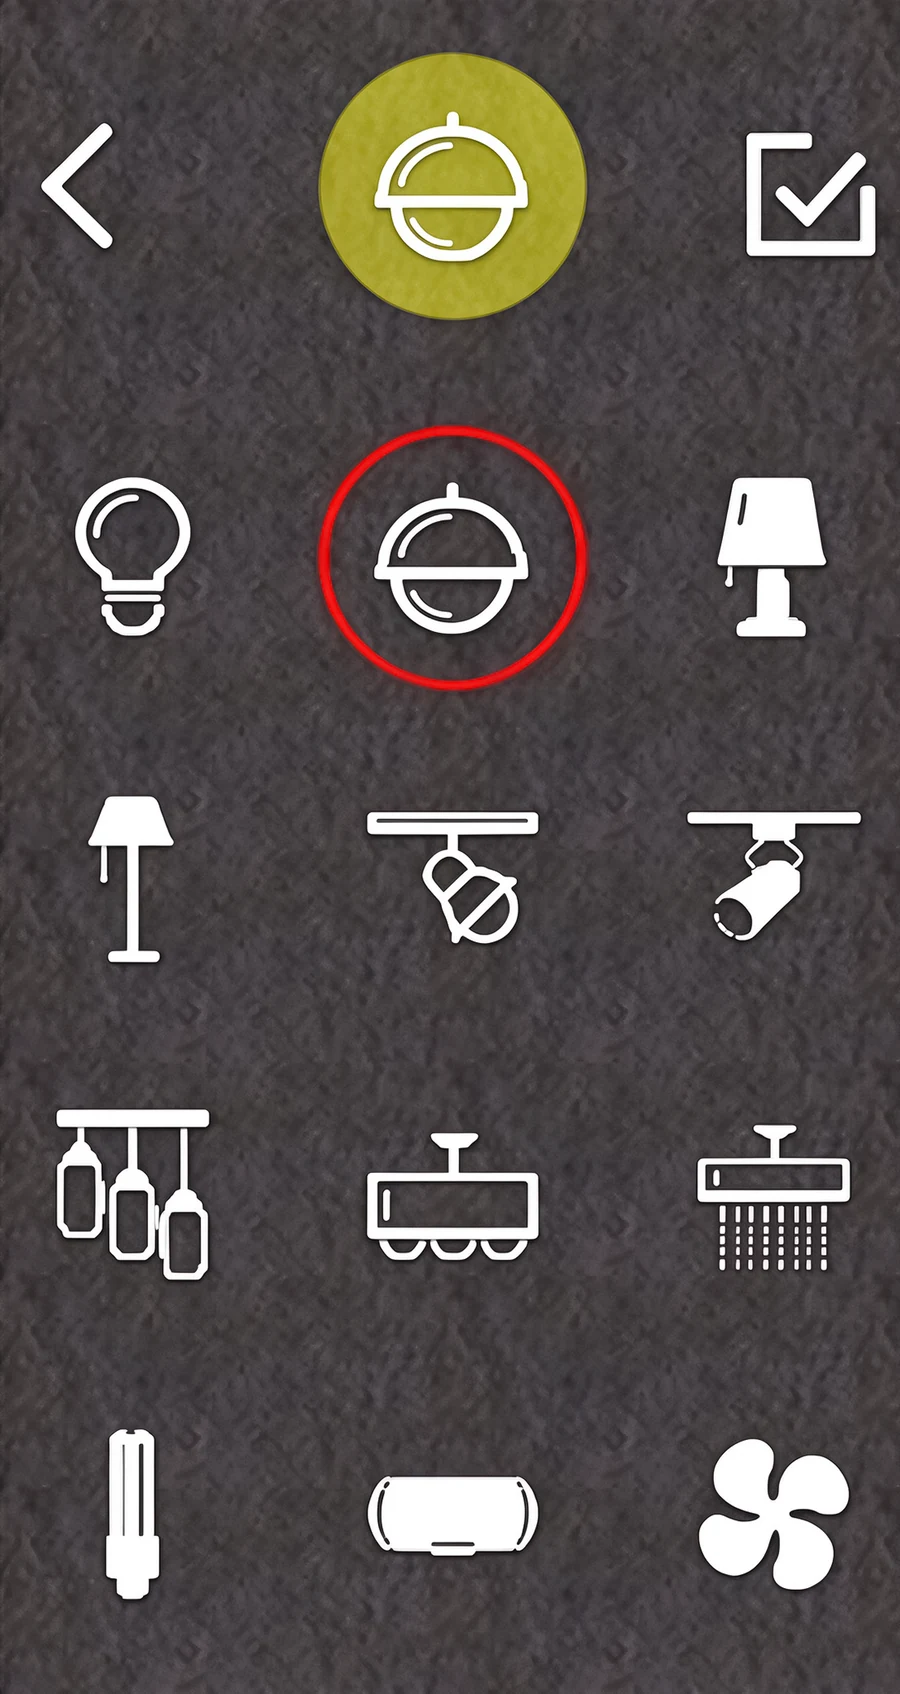
L9 · Icons
Choose familiar lighting icons directly on the LCD display.
A WELCOME WITHOUT A TOUCH
Wake the screen, switch on the light as you approach, or set a delayed light-off. Screen wake and lighting automation can be enabled and configured separately in the device menu.
Standby
Illustrates the enabled screen-wake and lighting functions together. The scene and screen shading are illustrative, not a device recording. Playback time is compressed, not a response-time test or a device delay setting. Screen standby is illustrated separately from the lamp's delayed switch-off; its timing is configured independently.
Choose near, medium or far in the device menu. Check sensing and delay at the actual installation; these settings are not a guaranteed coverage area. Brightness and night settings are adjustable separately.
LANBON SMART LIVING
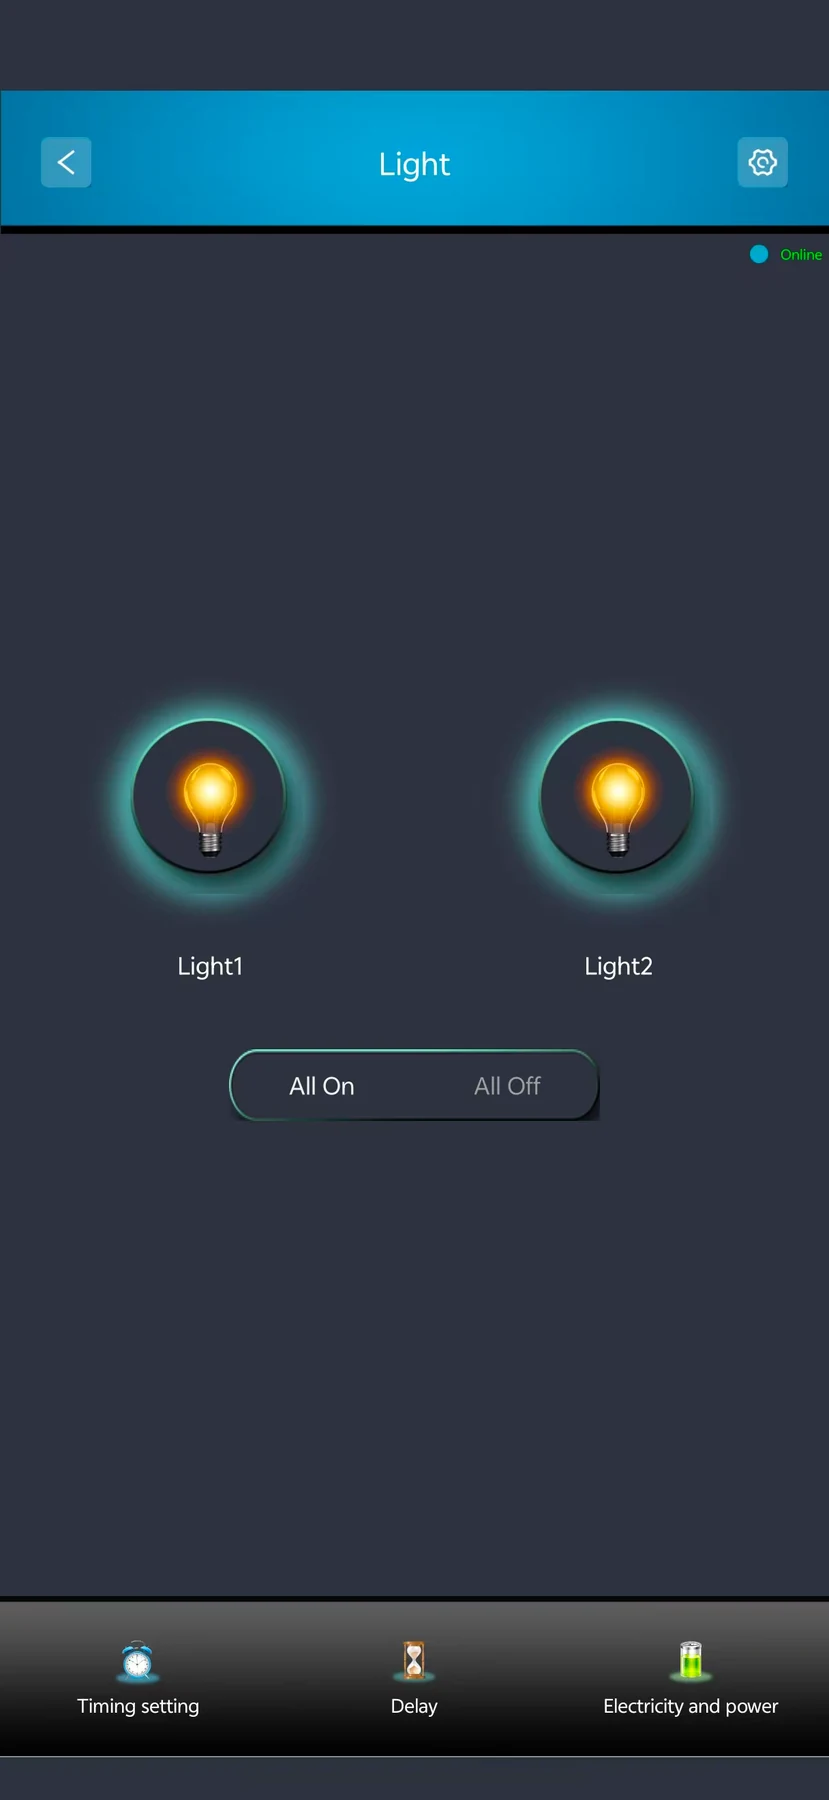
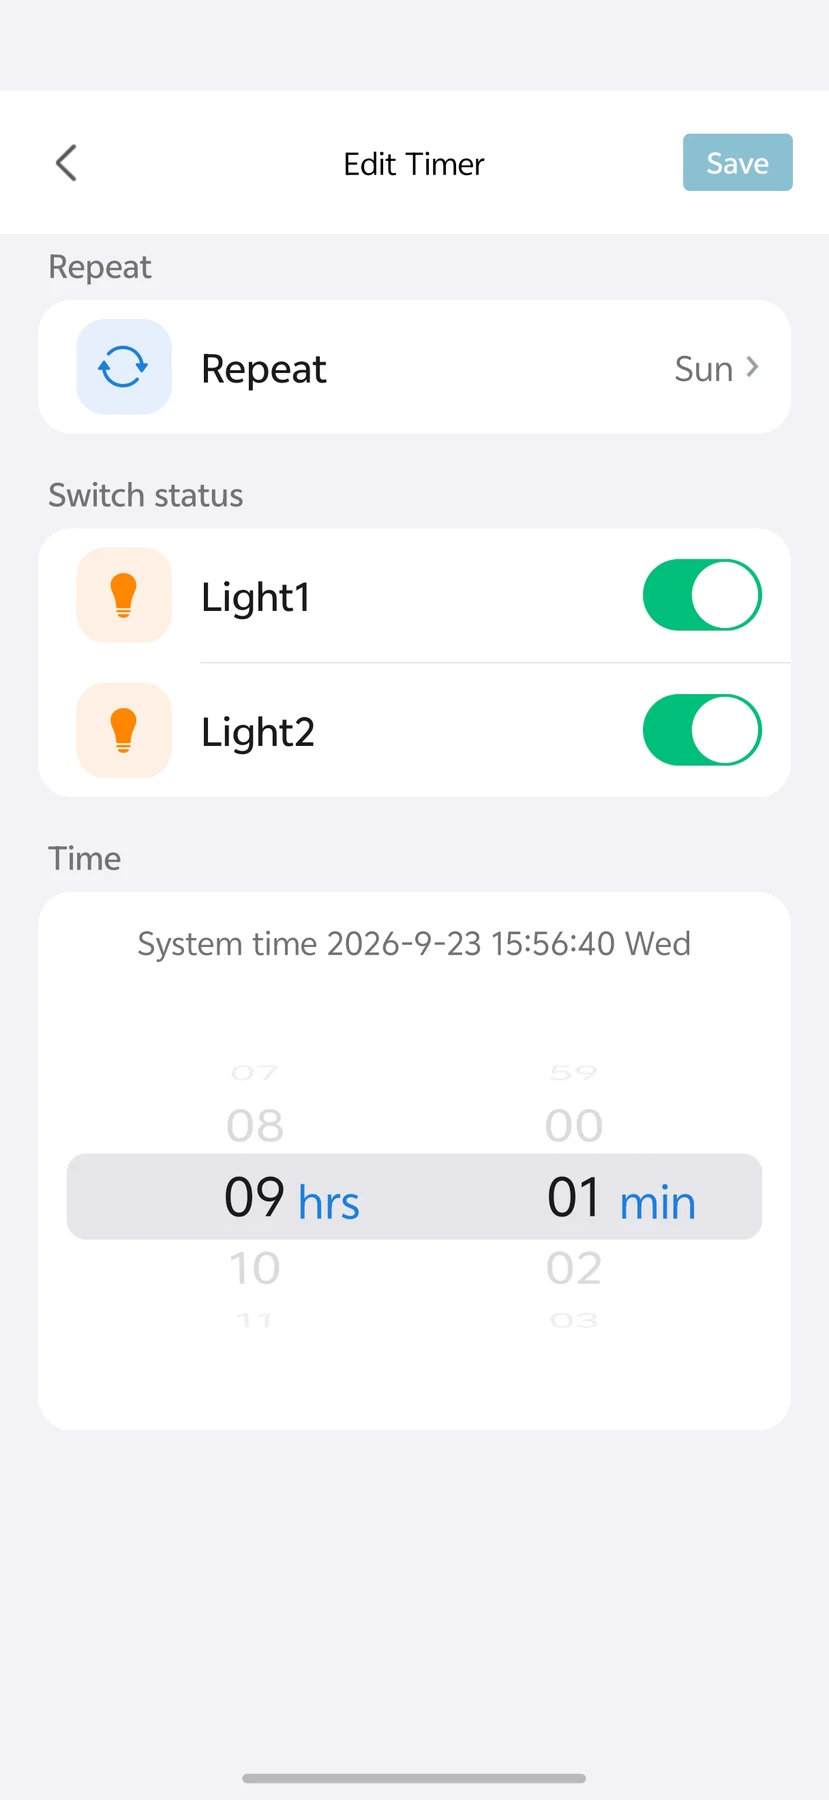
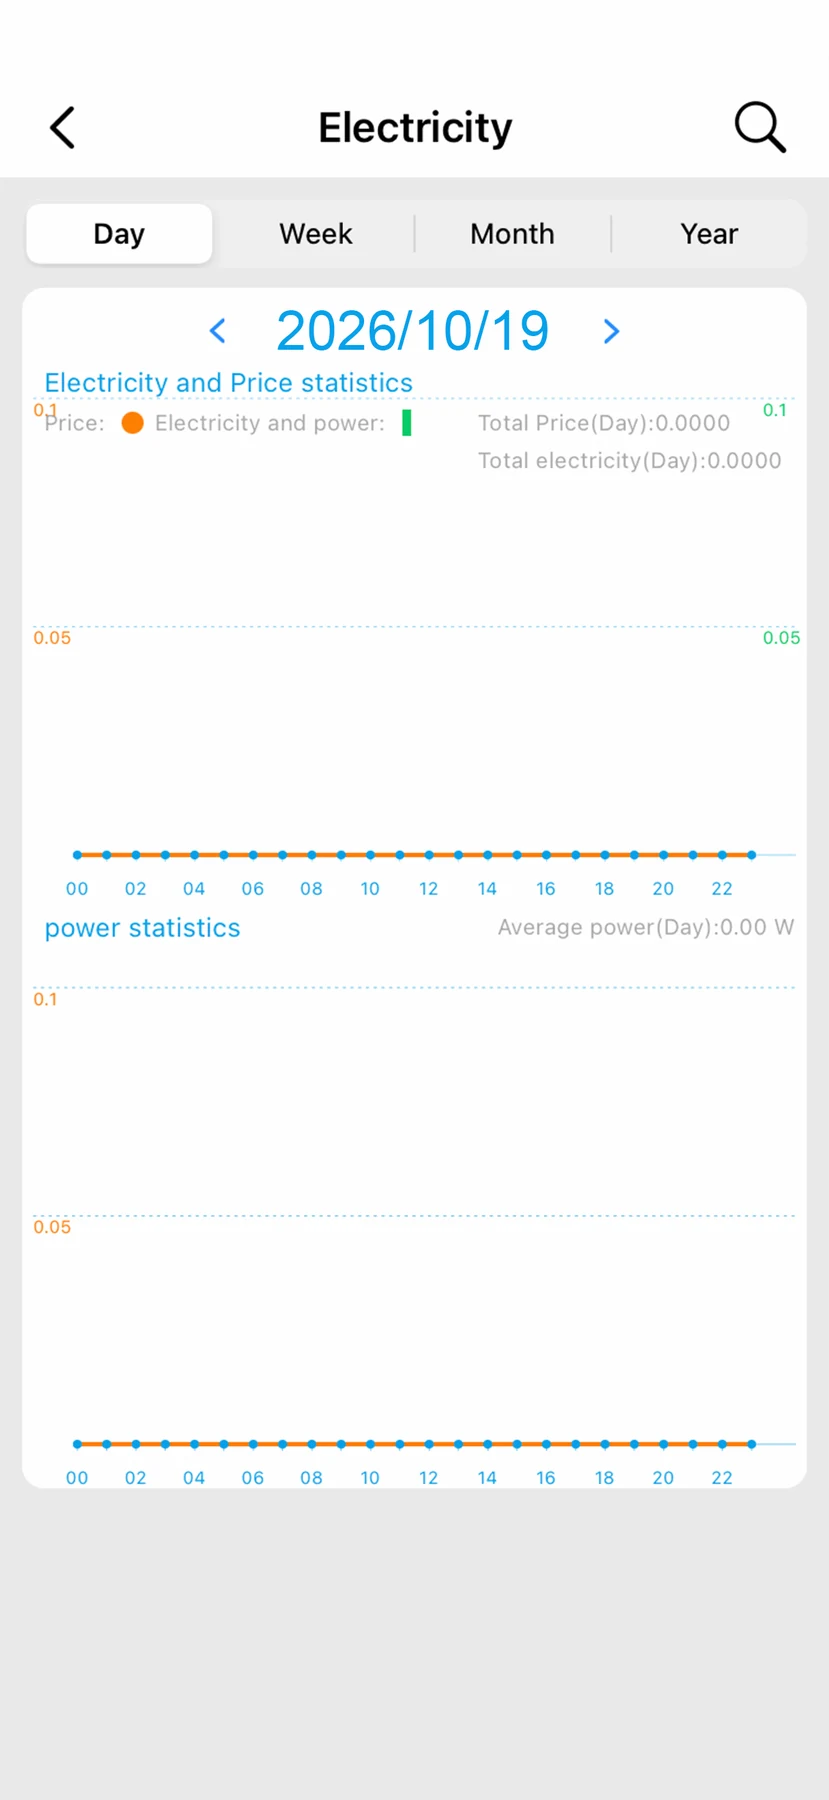
Use the supplied Smart Living interfaces for supported lighting controls, timers and energy information. Displayed values illustrate the interface, not measurement accuracy. Remote operation requires setup, internet access and available services.
WI-FI MESH
L9 2-in-1, dimmer and fan switches can share one Mesh network. Switches connect through neighbouring nodes, so each switch does not need a direct Wi-Fi link to the router.
First configured switch2-in-1 switch · Master example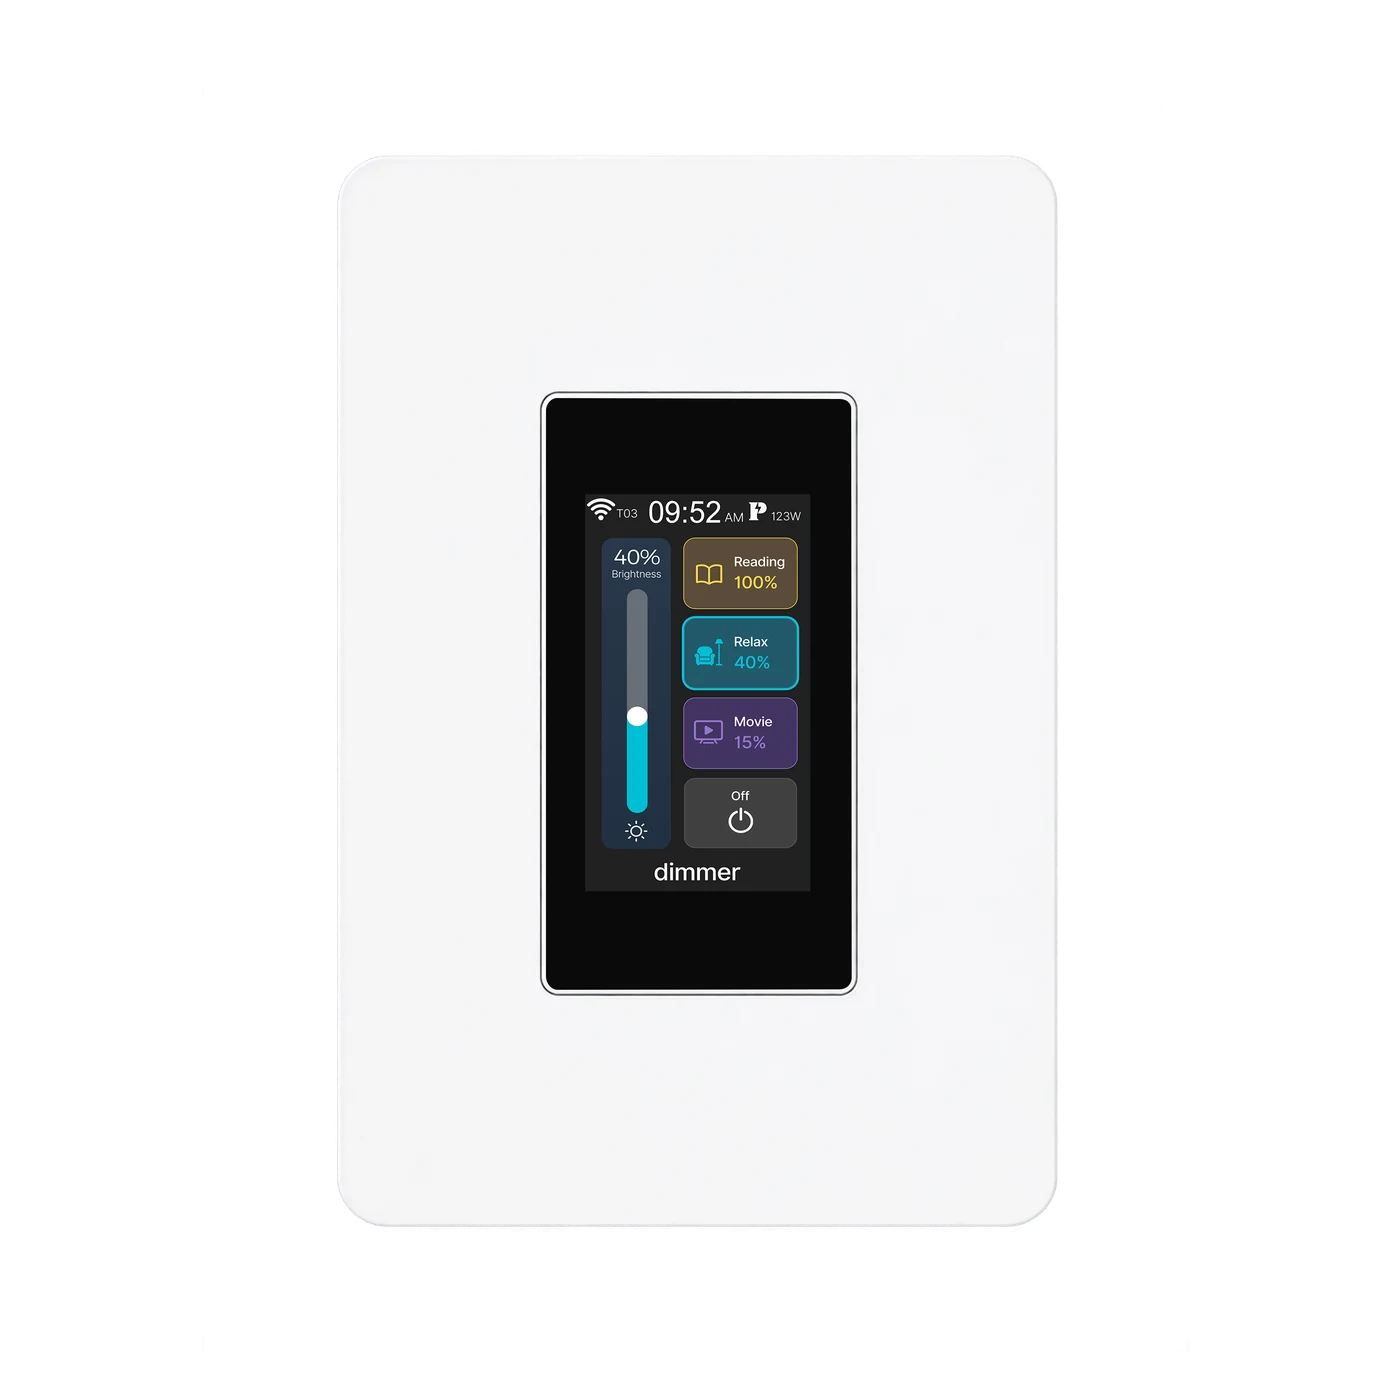 Dimmer switchConnects through Mesh
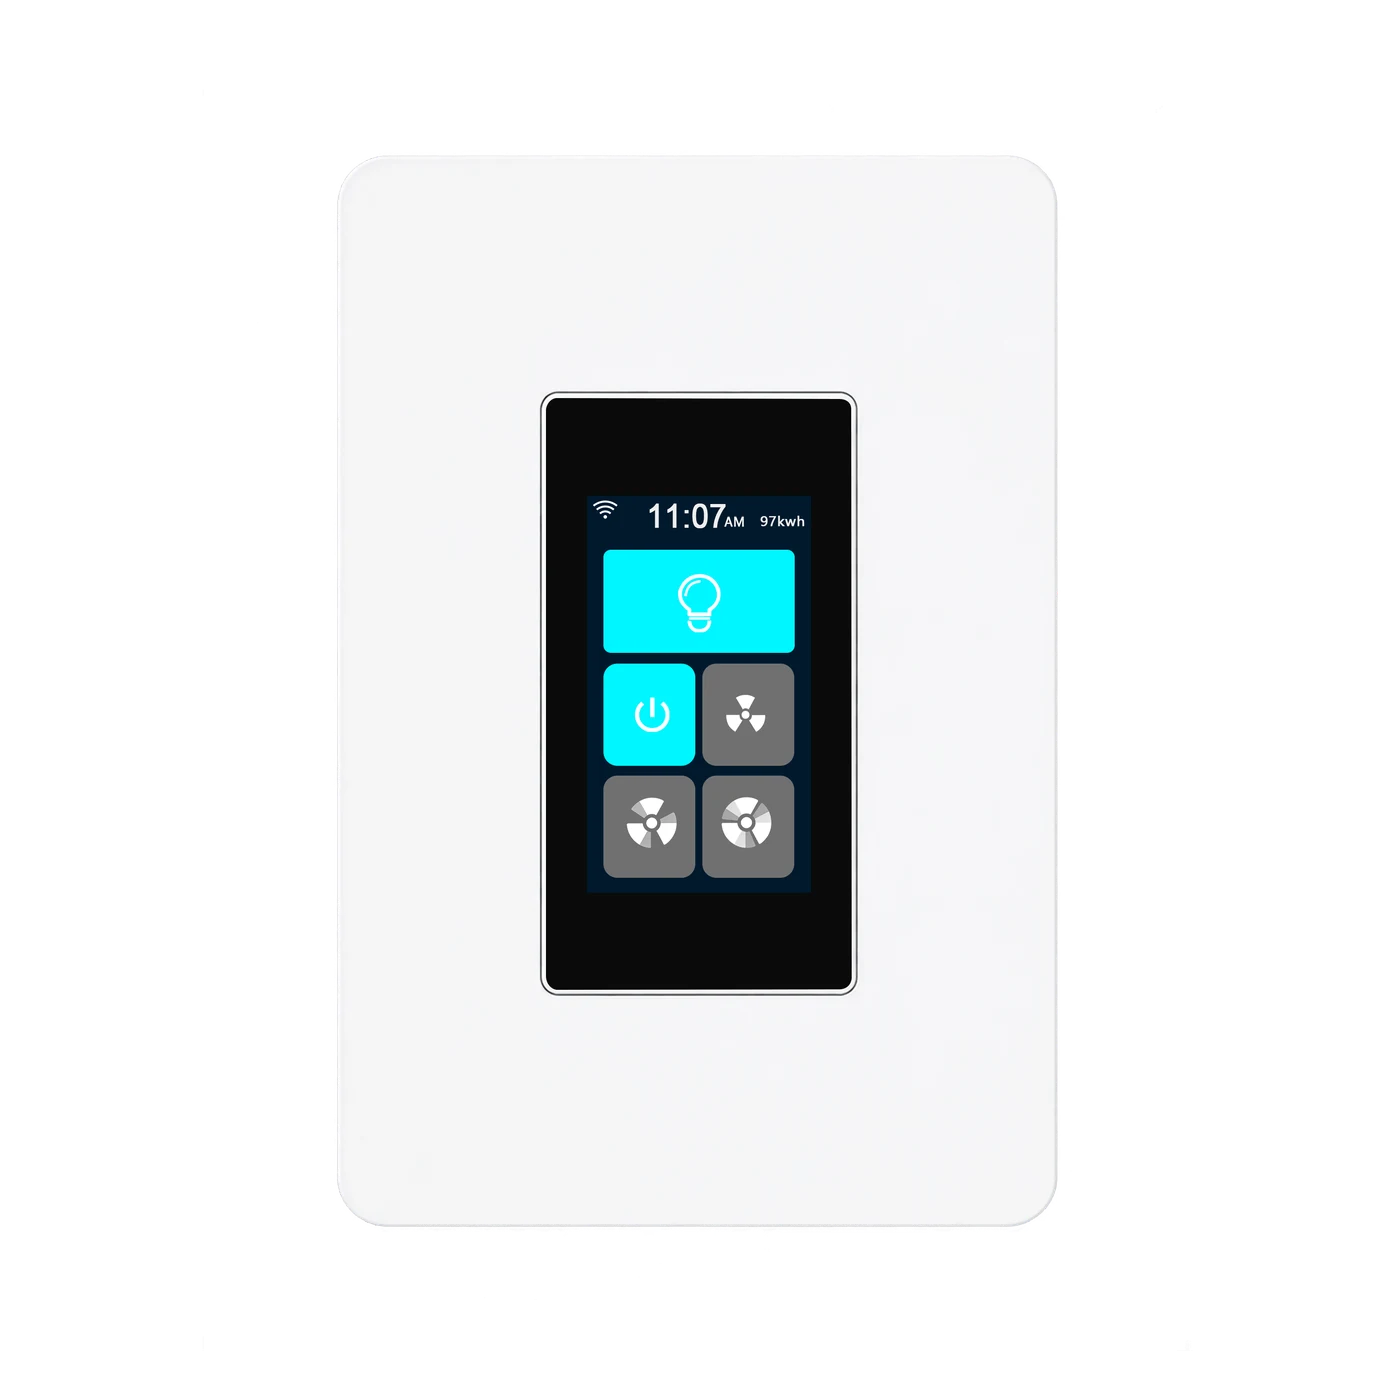 Fan switchConnects through Mesh
Configure the first switch where the router signal is good. The system automatically sets this first configured switch as the master.
Complete setup for the other compatible switches. Keep adjacent Mesh switch nodes no more than 8 metres apart.
The switches automatically form their Mesh network. Any compatible switch can serve as the master when configured first; a separate gateway or host is not required.
L9 can also mesh with compatible L10 switches; this diagram shows L9 examples only, not a required bundle. It does not extend Wi-Fi for phones or computers. Remote app and cloud features still require the router, internet access and available services.
L9-HS · LANBON edition
Add compatible switch entities to Home Assistant using MQTT Discovery.
Connect Home Assistant →Send commands and receive device state through your own MQTT broker.
MQTT developer guide →Read device capabilities, send commands and retrieve state through the LANBON local API.
Use the local API →PRODUCT VIEWS
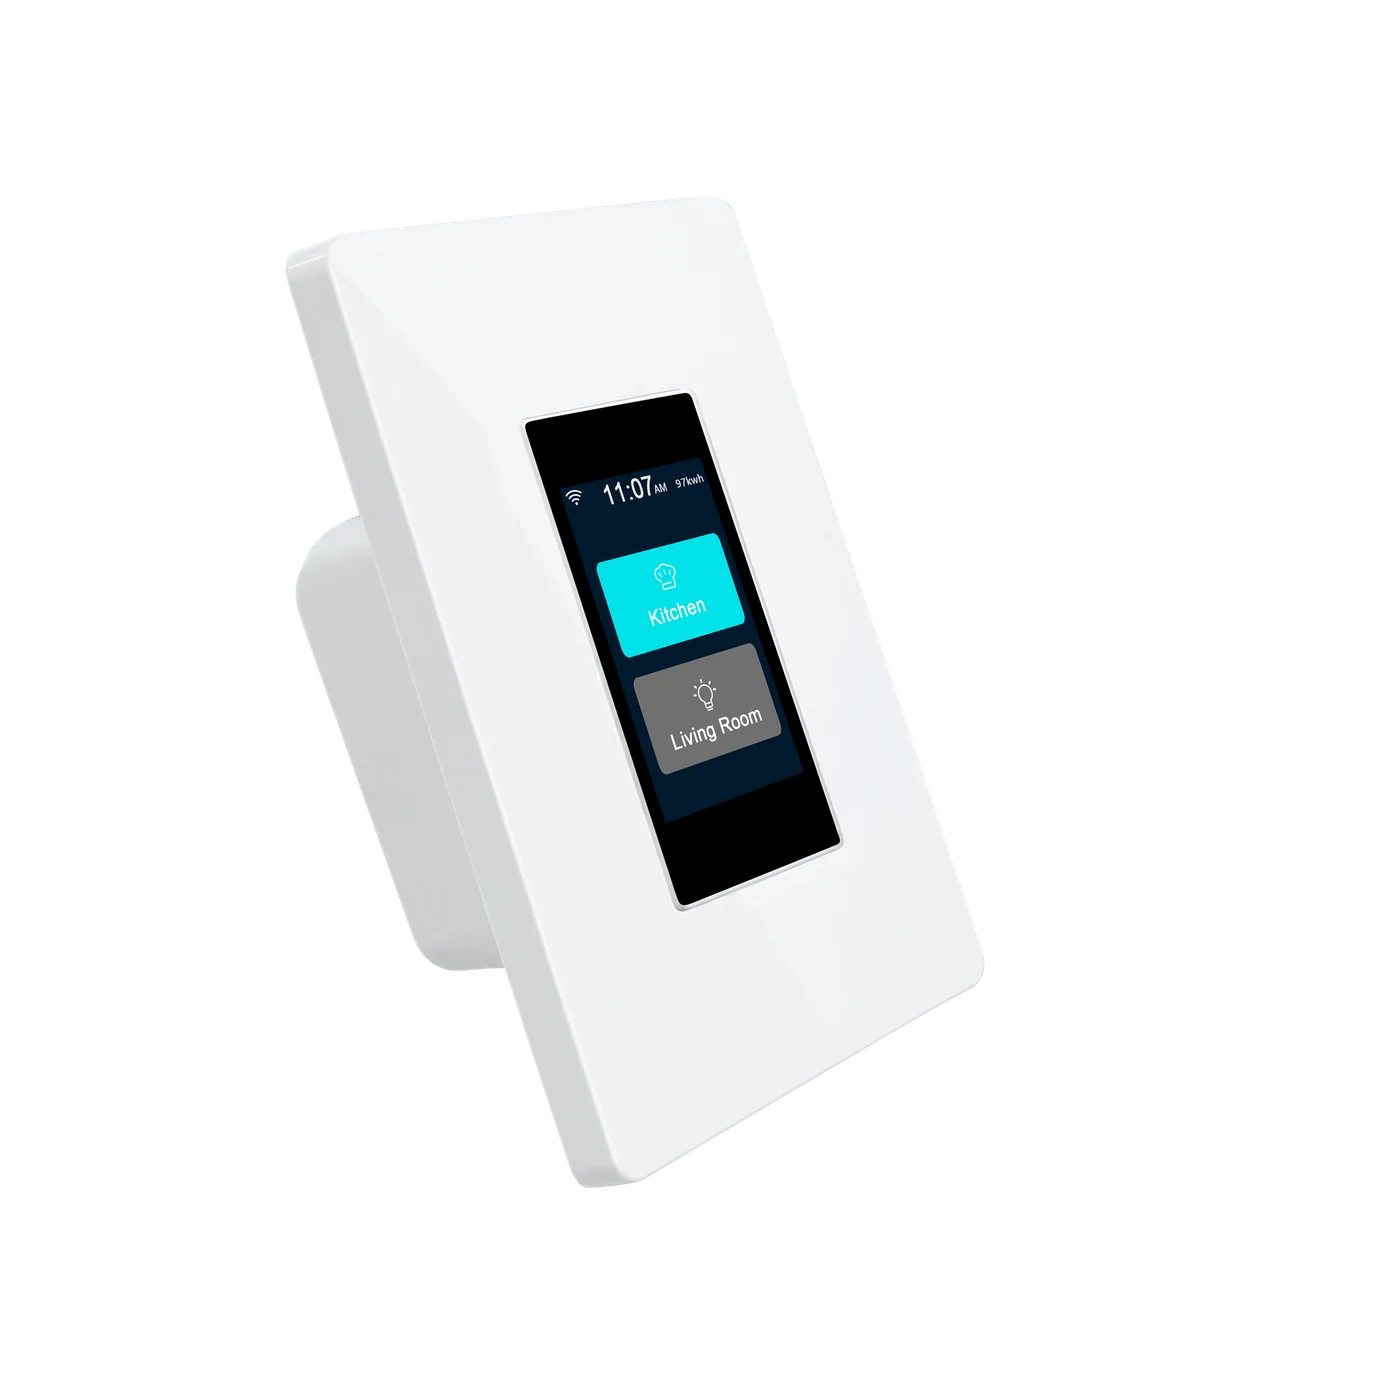
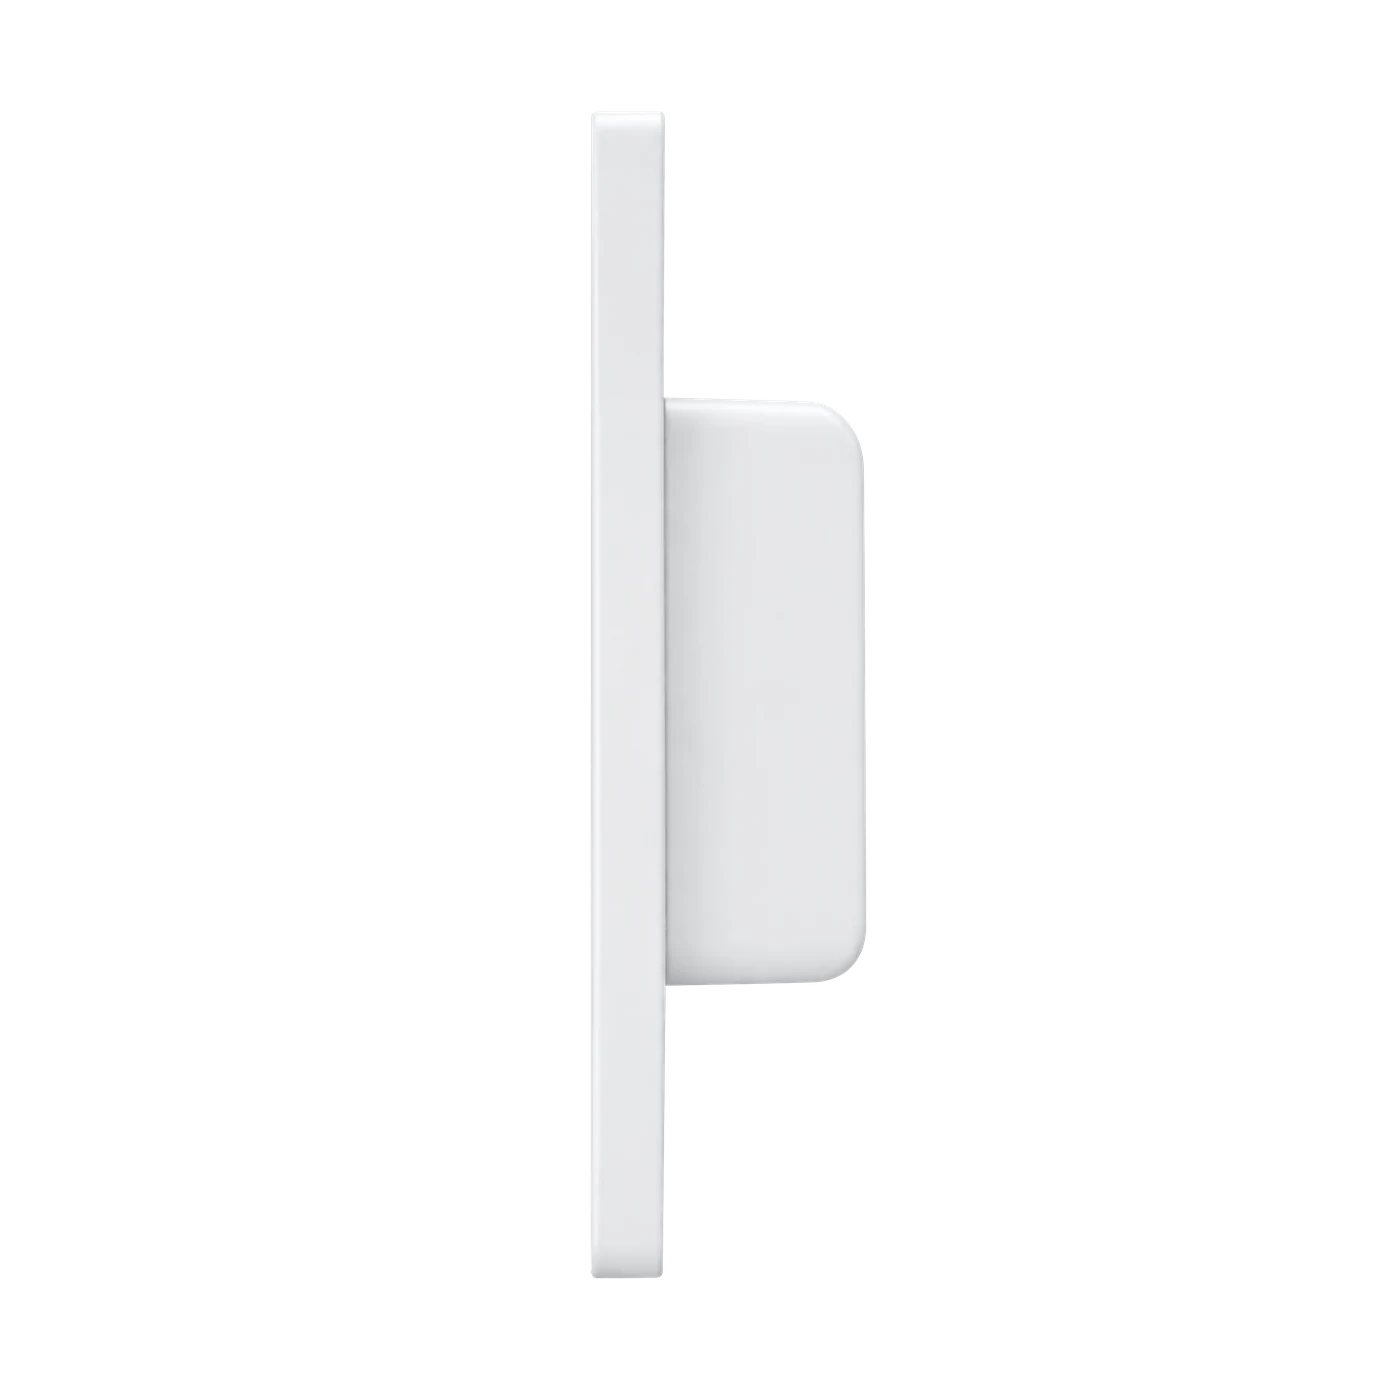
MODEL & INSTALLATION
The details for the US-only L9-HS.
The current body occupies 25 mm inside the box. Confirm usable box depth, conductor space and compatible connectors before purchase; device depth alone is not a minimum box requirement.
LED, CFL, incandescent and fluorescent lighting, with compatible mains or conventional constant-current / constant-voltage LED drivers. No minimum load specified.
The relay switches the connected lights on or off. Screen brightness settings do not dim the room lighting.
High-power heaters, pumps, large exhaust fans or other loads outside the lighting rating. Never short or parallel the circuit outputs.
INSTALLATION
WATCH IT WORK
Supplied device demonstration; not a sensing-distance, electrical load or Tuya connectivity test.
Original supplied LANBON app demonstration, not a Smart Life recording.
DOCUMENTS & SUPPORT
Contact support for current model-specific operating and wiring instructions, certification scope and US service terms.
Get product support